Here is a pocket card I made for Valentine's day.
For this, you will start with a piece of cardstock 8 1/2" by 9 1/2." You will score on the 8 1/2" side at 4" and 8". You will score on the 9 1/2" side at 1/2". Here is what the paper looks like when it is scored.
If you like the fold down flap of the Valentine card above, then you can simply score at 1/2 inch or 3/4 inch below the top of the pocket. However, with this card, I decided to make the pocket have a rounded top like in the style I did at Christmas time for the regular card-sized pocket. I took a CD and lined it up about half way on the top of the card.
I traced the arc with a pencil...
This is what it looks like when that portion was removed.
Here is the pocket unfolded so you can see how that portion is removed. I also cut the right side down so it won't show when the pocket is folded down.
Then I used a corner rounder to make this:
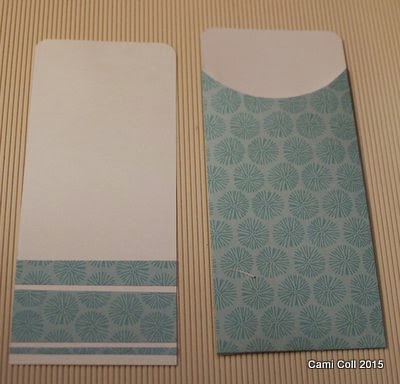
The pocket is now ready to decorate. I decided to add some stripes of the same paper to the tag which will go inside the pocket. The tag is 3 3/4" by 8 3/4". I rounded the top corners but left the bottom corners intact.
Here is how it looks decorated:
I used some "Pebbles" Birthday Wishes diecuts for the cupcake and "let's party" banner. The other banners are the Stampin' Up Banner punch. The sentiment, Happy Birthday, is a Pebbles Rub-on. I just happened to have a small cupcake sticker that matched the large cupcake so I used that on the tag to coordinate.
Here are some other cards I've made lately:
This one also uses the Stampin' up Banner punch and another rub-on from Pebbles
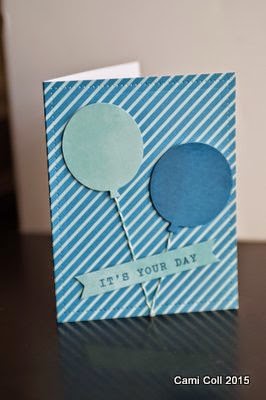
This one used more diecuts from Pebbles Birthday Wishes and some bakers twine for the balloon strings
This one I found and cased from here. I didn't have the exact same papers or stamps so I did my best to work with what I had.
Thanks for stopping by!


